
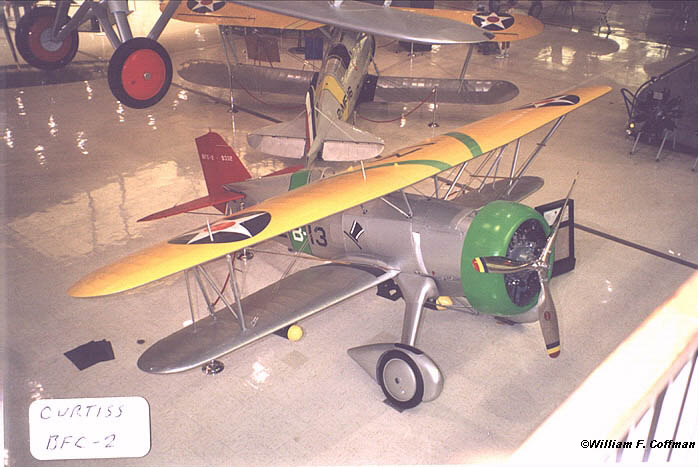


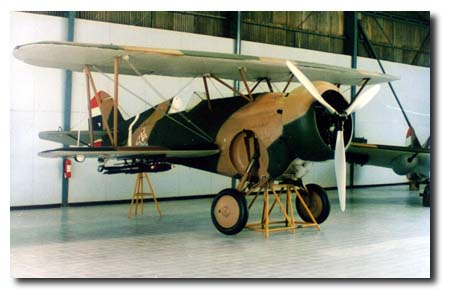
Curtiss BFC-2 Hawk
BuNo 9332 of VF-2(B), USS Saratoga
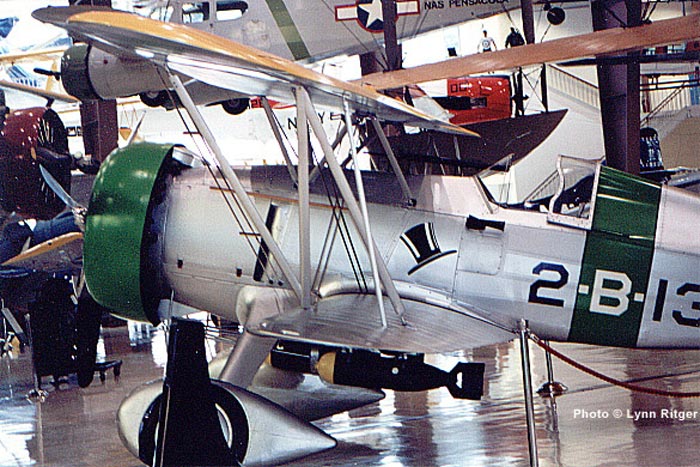
This aircraft can be found at the National Museum of Naval Aviation in Pensacola, FL. According to a recent article in Airpower magazine, this particular aircraft was originally delivered to VF-2(B) as 2-B-18, the third aircraft in the sixth section. As it was not uncommon to shift aircraft within the squadron to make good losses, this might explain why the aircraft currently wears fifth section leader markings (2-B-13). I wish to thank Bill Coffman for his generosity in donating these pictures, and Derek Pennington for facilitating the transfer of the pictures!
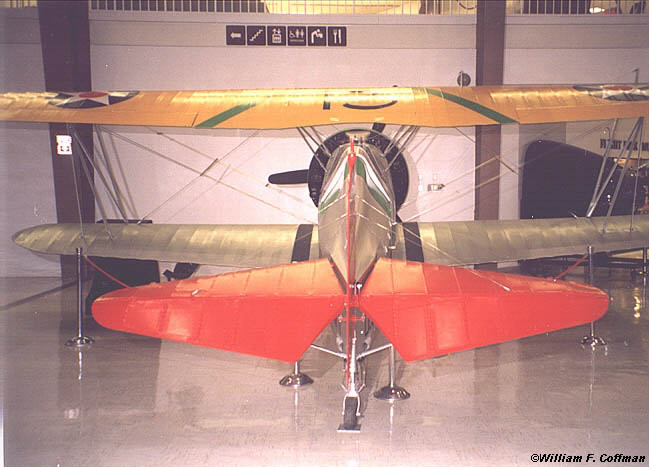
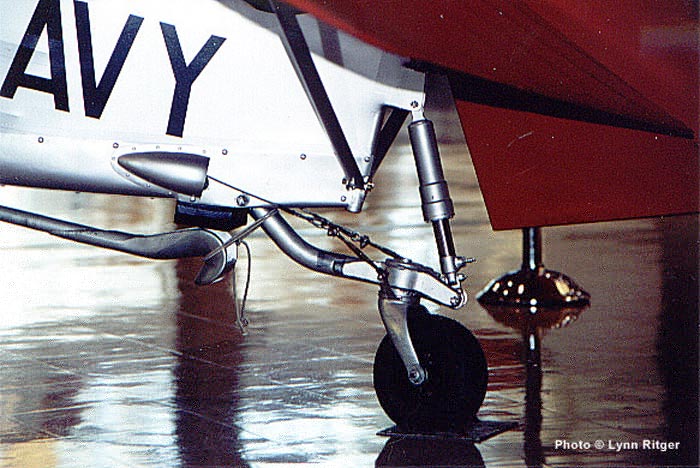
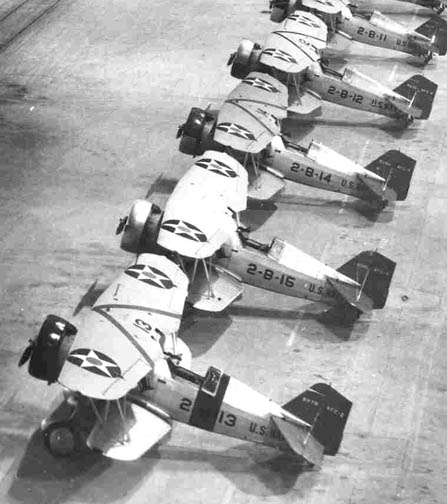
Update, 19 September: I received a great package of information from William T. Larkins which included a good deal of correspondence between Mr. Larkins and several people involved with the construction of this aircraft (it is an historical reproduction, not an original airframe). Mr. Larkins, who most certainly qualifies for the 'been there, done that' award when it comes to Naval aviation history (photographer since 1934; I have a book copyrighted in 1942 with many of his photographs, in fact), points out that this reproduction has several errors, the most noticeable of which are the three blade propeller and cowl shape. In service, the aircraft were seen most often with the drop tank installed in place of the bomb rack. The paint scheme also comes under scrutiny; while I am in no position to comment on the accuracy of the shape and position of the squadron markings, I will share the following chart compiled by Mr. Larkins on 31 March 1990:
F11C-2/ BFC-2 SQUADRON ASSIGNMENTS VERIFIED BY PHOTOGRAPHS listed in blue;
Those aircraft extrapolated based on known BuAer and Curtiss practice listed in red.
BuNos provided by Joe Baugher (http://home.att.net/~jbaugher), photo proof chart
compiled by William T. Larkins.
| BuNo | VF-1 code | VF-2(B) code | VB-3 code | VB-6 code |
| 9265 | 2-B-15 | |||
| 9266 | 1-F-1 | 2-B-11 | ||
| 9267 | 1-F-2 | 2-B-1 | 6-B-10 | |
| 9268 | 1-F-3 | |||
| 9269 | XF11C-3 to | XBF2C-1 | ||
| 9270 | 1-F-4 | |||
| 9271 | 1-F-5 | |||
| 9272 | 1-F-6 | 2-B-7 | ||
| 9273 | 1-F-7 | 3-B-17 | ||
| 9274 | 1-F-8 | 3-B-1 | ||
| 9275 | 1-F-9 | |||
| 9276 | 1-F-10 | 2-B-10 | ||
| 9277 | 1-F-11 | 3-B-13 | ||
| 9278 | 1-F-12 | 2-B-12 | ||
| 9279 | 1-F-13 | |||
| 9280 | 1-F-14 | |||
| 9281 | 1-F-15 | |||
| 9282 | 1-F-16 | 2-B-16 | ||
| 9331 | 1-F-17 | 2-B-17 | 6-B-12 | |
| 9332 | 1-F-18 | 2-B-18 | 3-B-12 | |
| 9333 | 1-F-3 (replacement?) | 3-B-7 | 6-B-17 | |
| 9334 | ||||
| 9335 | 3-B-17 | |||
| 9336 | 2-B-4 | 3-B-8 | 6-B-16 | |
| 9337 | ||||
| 9338 | ||||
| 9339 | ||||
| 9340 |
In spite of the questionable marking choices and cowl errors, the fact that such an effort has been expended in order to present an example of an extinct aircraft is certainly worthy of commendation. Perhaps in the future these shortcomings can be rectified, along with those on the Museum's Grumman F3F-2 (BuNo 0976) last flown by Medal of Honor recipient Robert Galer (that aircraft was restored with the fuselage in grey as opposed to the aluminum lacquer specified by BuAer requirements and which in fact was still visible on the airframe when recovered). I wish to thank Mr. Larkins and Mr. Coffman for sharing this information, and I trust this will prove valuable to those building the forthcoming Classic Airframes F11C-2/BFC-2 kits.
Photos by Bill Coffman:


Photos by the author:

Miscellaneous photos:
Several of the b/w photos were provided by William T. Larkins via the PreWar US Naval Aviation e-group, while others have been found online at museum sites (such as the ultra-rare Thai Hawk III at the Thai Air Force Museum) and discussion boards.

![]()